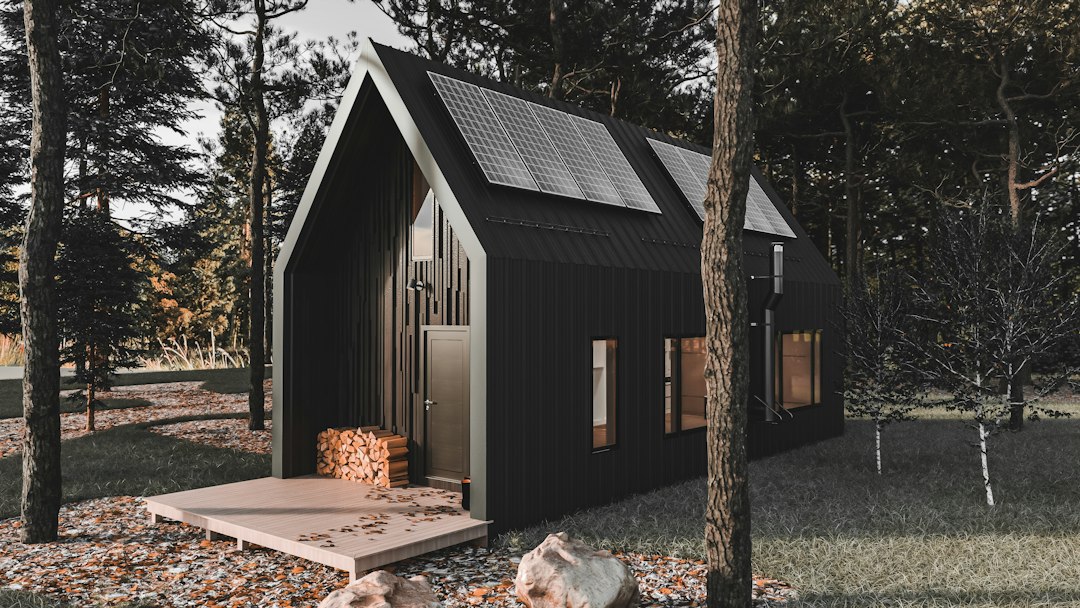
Introduction: Why Off-Grid Automation for Artisanal Woodworkers?
The Intersection of Craft and Technology
Artisanal woodworking is a time-honoured tradition in Canada, from the forests of British Columbia to the workshops of Nova Scotia. As woodworkers seek to create sustainable, self-sufficient studios, off-grid tiny house automation emerges as a powerful ally. By blending modern technology with the ancient craft of woodworking, artisans can operate their tools without relying on the conventional grid, reducing their carbon footprint and enhancing independence. In a country where remote locations are common, automation ensures that creativity is never limited by access to power.
Benefits for Canadian Woodworkers
For Canadian woodworkers, off-grid automation offers several advantages:
- Energy Independence: With solar panels and battery banks, you can power your workshop even in remote locations, ideal for those who travel or live off-grid.
- Cost Savings: Over time, the initial investment in CAD $3,000–$8,000 can be offset by reduced utility bills, especially if you previously relied on expensive grid extensions.
- Resilience: During power outages common in Canadian winters, your workshop remains operational, preventing delays in projects.
- Sustainability: Using renewable energy aligns with the values of many artisans, supporting eco-friendly practices and reducing your carbon footprint.
Step 1: Assessing Your Off-Grid Needs and Local Regulations
Understanding Canadian Electrical Codes (CSA C22.1)
Before any installation, familiarize yourself with the Canadian Electrical Code, Part I (CSA C22.1). This standard governs all electrical installations in Canada. Key points include:
- Proper sizing of wires and breakers to handle peak loads, ensuring safety and compliance.
- Use of CSA-approved components, which are tested to meet rigorous safety standards.
- Grounding and bonding requirements specific to off-grid systems, which are critical in wet or snowy conditions.
Consult with a licensed electrician to ensure compliance, as local amendments may apply in provinces like Ontario or British Columbia.
Sizing Your Power System for Workshop Demands
Calculate your total wattage by listing all tools you plan to use simultaneously. For example, a table saw might draw 1,500 W, a planer 1,200 W, and lighting 200 W. Add a 20% buffer for safety and surges. This gives a peak load of around 3,500 W. Your inverter should be rated for at least 4,000 W to handle surges from motor-driven tools. Document your calculations in a simple spreadsheet, considering future expansions like adding a CNC machine.
Step 2: Designing an Efficient Off-Grid Power System
Solar Panel Selection and Placement
Choose solar panels with a total capacity of at least 1.5 times your daily energy consumption. If you use 10 kWh per day, aim for a 6 kW array. In Canada, consider panels with high efficiency in low-light conditions, as winters have shorter days. Mount them at an angle of 45–50 degrees to maximize snow shedding, and use microinverters or power optimizers to minimize shading effects. For a tiny house, flexible panels can be integrated into the roof, but ensure they are rated for heavy snow loads per local building codes.
Battery Bank Considerations for Tool Charging
Lithium iron phosphate (LiFePO4) batteries are ideal for off-grid workshops due to their deep-cycle capability and longevity, lasting up to 10,000 cycles. For a 4,000 W system, a 48V battery bank with 200 Ah capacity provides about 9.6 kWh of usable energy. Budget CAD $4,000–$6,000 for a quality battery bank, and consider installing a battery management system (BMS) for safety. In cold climates, ensure batteries are insulated and housed in a temperature-controlled environment to prevent capacity loss.
Inverter Sizing for Woodworking Machinery
Select a pure sine wave inverter with a continuous rating that matches your peak load. A 4,000 W inverter with 8,000 W surge capacity can handle most woodworking tools. Ensure it has multiple outlets and remote monitoring capabilities, such as Wi-Fi connectivity for tracking energy usage. Some inverters offer integrated transfer switches, which are useful if you ever need to connect to a backup generator.
Step 3: Automating Your Tiny House Systems
Smart Lighting and Climate Control
Install LED lighting controlled by smart switches or motion sensors to save energy. For a tiny house, a system like Philips Hue or a Canadian-brand EnerGenie can be programmed to turn off when not in use. For climate control, use a programmable thermostat that adjusts based on occupancy. In Canadian winters, a small electric heater powered by your system can prevent freezing, but size it carefully to avoid overloading—aim for a 500–1,000 W heater with thermostatic control.
Water Pump Automation and Monitoring
Automate your water pump with a pressure switch and a smart controller. Monitor water levels with sensors to prevent dry running. For a tiny house, a 12V DC pump with a 50 W draw is sufficient. Integrate it with your automation system to receive alerts if pressure drops. Consider a rainwater harvesting setup with a float switch to automate refills,